How to Deploy FEVER With CloudFormation
~30 minutes to deploy.
Before You Start
You'll need...
- An AWS account that has access to FEVER on AWS Marketplace.
- A region picked out - with a VPC configured and ready to use.
- [Optional] Quota to use GPU instances.
Launch the Stack
- 1. Subscribe to FEVER Retrieval on the AWS Marketplace and accept the terms - this unlocks the product for your account.
- 2. Click through to launch with CloudFormation, choose your region, and fill in the stack parameters:
- CFN Stack Name
- Instance Type (GPU | CPU)
- Preferred VPC
- Allowed CIDR
- Bastion Host for Admin Portal Access (Y | N)
- 3. Create the stack and wait for
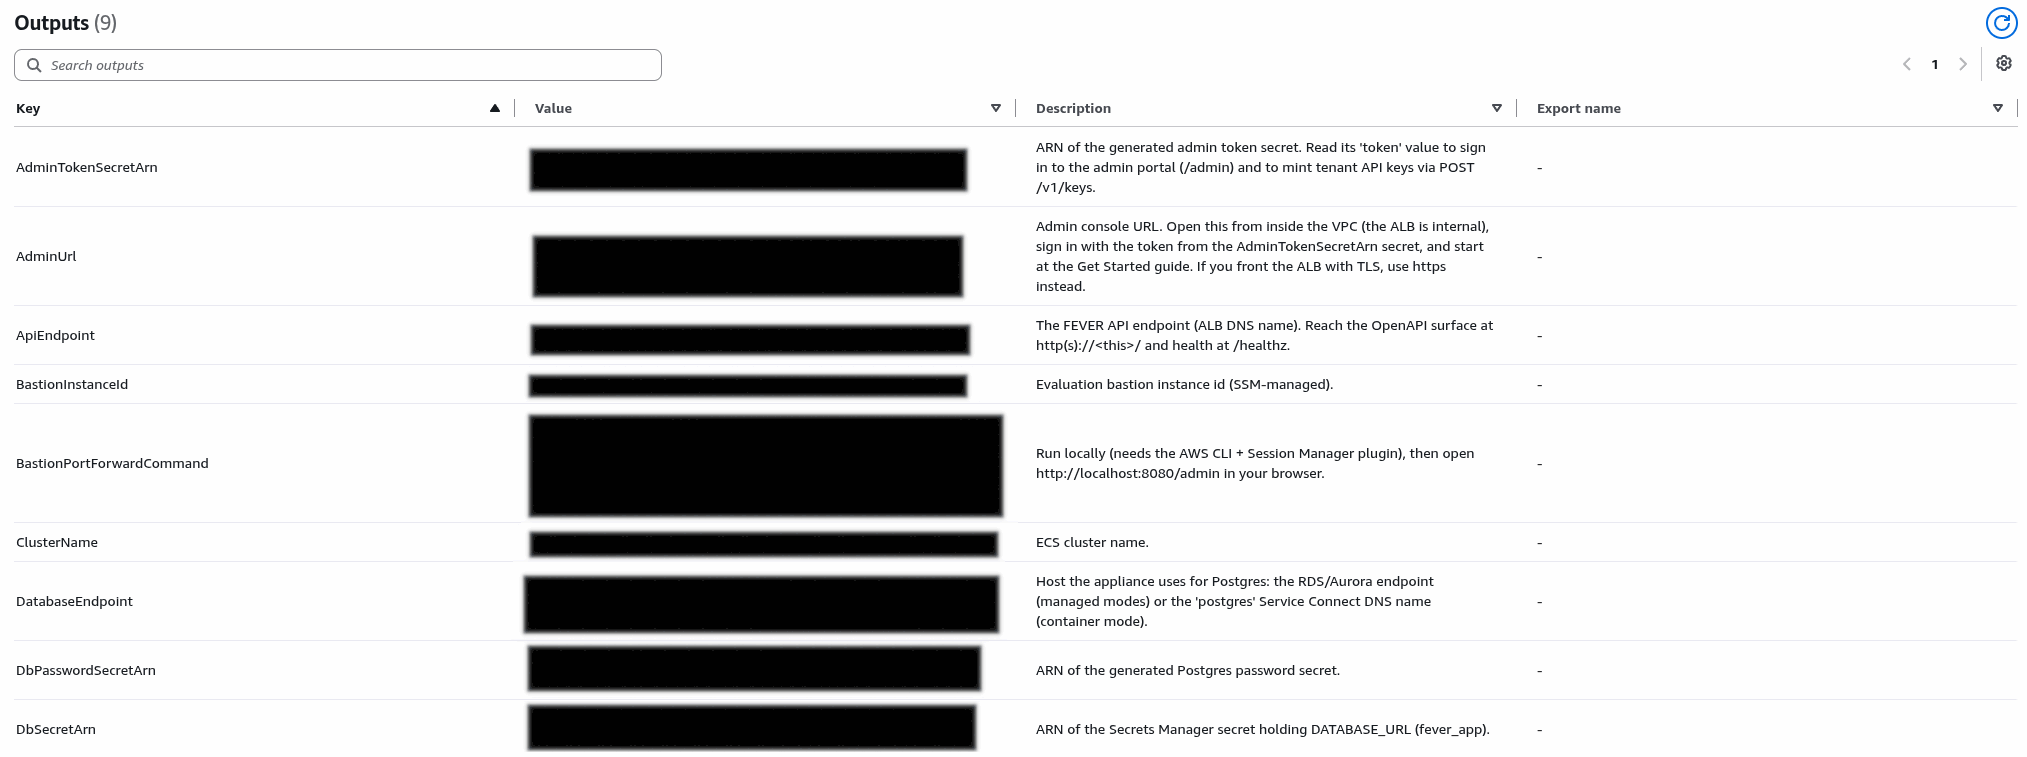
CREATE_COMPLETE. - 4. Open the stack's Outputs tab - it has the appliance base URL and the admin console URL.
First Sign-In
- 1. Open the admin console URL and sign in with the admin token from your stack parameters, and the given port forwarding command if using the bastion host.
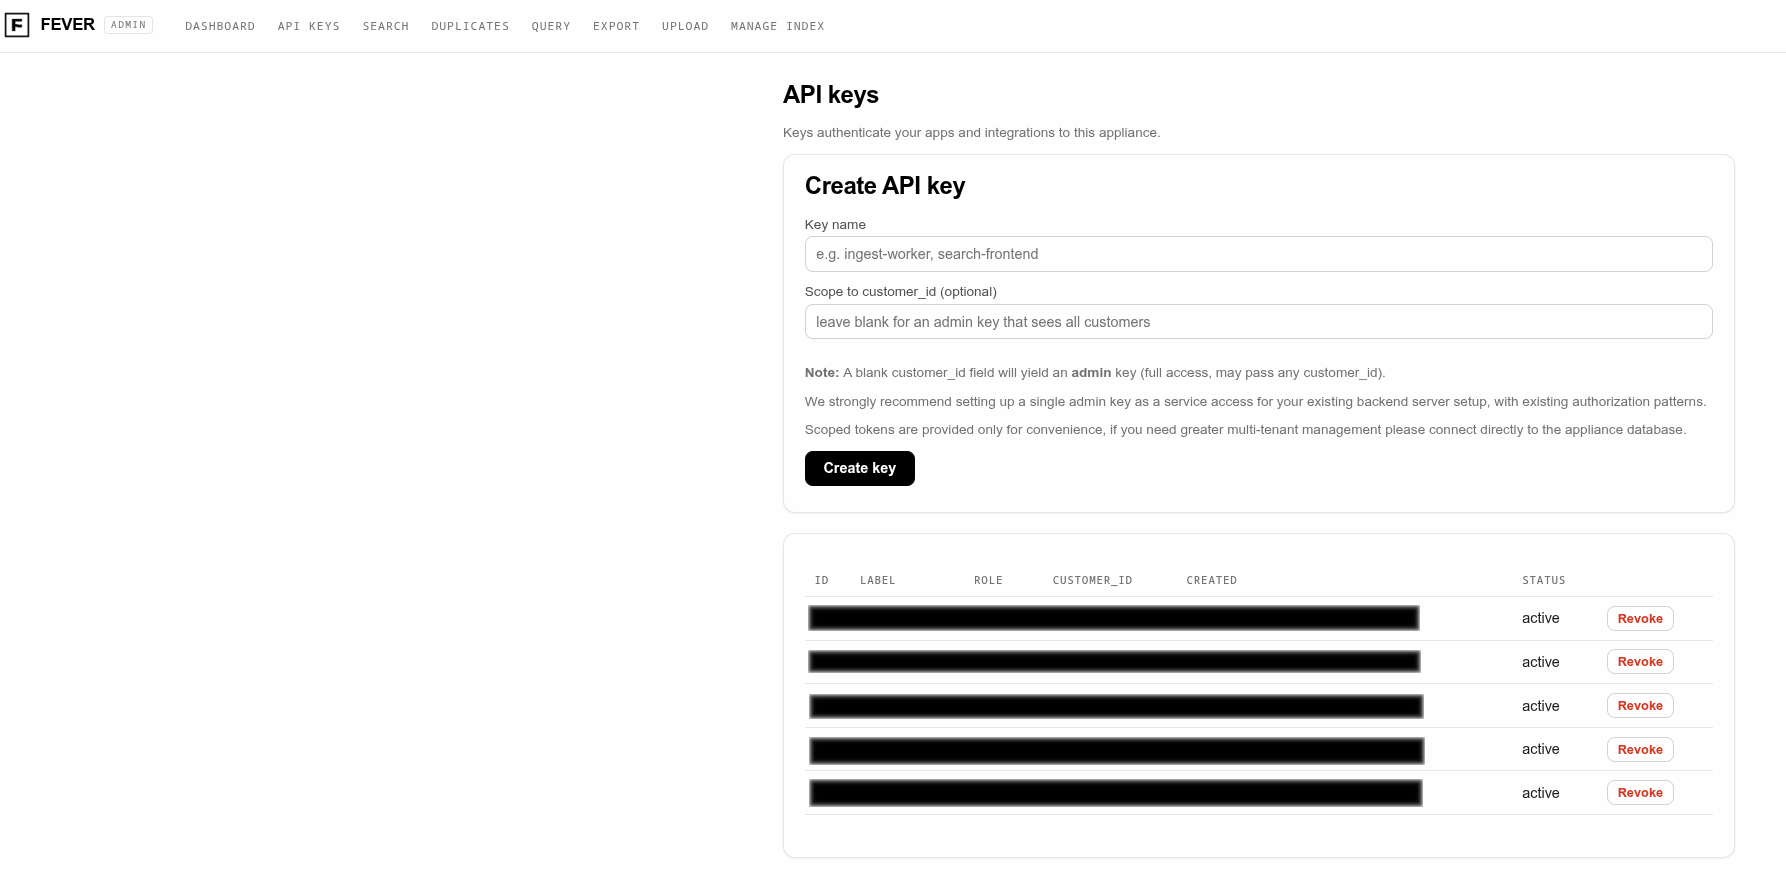
- 2. Go to the Keys tab and mint your first tenant API key - this is the key your backend uses.
- 3. Keep admin keys server to server. Use the customer scoped keys for anything user facing.
What You Get
- The full appliance with all its needed parts will be live inside your account.
- No data egress by design. Your users' data never leaves your Virtual Private Cloud.
- Upgrades are simple: deploy a new CloudFormation template version; data volumes persist.
Next
- Quick Start Guide - take that API key to a first search in 5 minutes.
- How to Ingest User Data with FEVER - start loading content.
- Overview - the primitives behind everything above.